How To Make Detroit Style Pizza At Home
Last updated on May 7, 2025
I spent months trying to figure out how to make Detroit Style Pizza at home followed by years making it in a commercial setting before I perfected it. It can be tricky. I failed many many times before I got it right. Here’s every trick I know that helps me get great results at home cooking Detroit style pizza.
First thing to keep in mind: there are always going to be nuances that make a static process difficult. You’ll have to adjust for your specific setting. Different ovens behave differently. Temperature and humidity are factors. Your dough will behave differently on a hot summer day than it will mid-winter. You’ll need to take what I’m saying and make small improvements to perfect DSP in your home.
This, however, should serve as a baseline guide with all kinds of great tips to help you get good results making DSP at home.
Key Takeaways:
- 1. Detroit style pizza is a rectangular deep-dish pizza with a thick crust, crispy edges, and toppings under the cheese.
- 2. The key to achieving the perfect Detroit style pizza crust is using a heavy-duty, rectangular pan with a non-stick surface.
- 3. Get creative with your toppings for Detroit style pizza, such as using unique meats, vegetables, and sauces like teriyaki chicken or beef birria.
What is Detroit Style Pizza?
Detroit Style Pizza is a unique and delicious pizza variety that originated in Detroit, Michigan, renowned for its square shape, thick crust, and crispy, caramelized cheese edges, also known as frico, creating a delightful texture contrast with a rich, flavorful sauce and generous cheese topping.
Its origins trace back to the 1940s when auto workers used blue steel industrial trays from car factories to bake their pizzas, which led to the distinctive shape and crispy texture.
The dough is key to its success, typically using a high-hydration, focaccia-like dough that is proofed for a long time and then placed in well-oiled, rectangular pans, resulting in a crunchy exterior and chewy crumb.
Choosing the Right Detroit Style Pizza Pan
Selecting the appropriate pan for baking Detroit Style Pizza is crucial to achieving the signature texture and flavor profile, with options ranging from specialized Detroit Style Pizza pans to versatile 9×13-inch pans commonly used for sheet cakes and brownies.
I’ve personally had the best results using Lloyds pans, which are made out of aluminum. Some Detroit Style purists would say that that a true Detroit Style pizza should be cooked in a steel pan. If you’re of that ilk, you might look to The Detroit Style Pizza Co. for a pan.
In terms of baking a Detroit Style Pizza, the pan plays a pivotal role in the final product. The traditional deep-dish square shape of Detroit Style Pizza pans helps create the characteristic crunchy exterior, while the even heat distribution of a quality pan ensures that the dough is cooked to perfection.
The depth of the pan influences the ratio of crispy edge to tender center, a defining feature of this style of pizza. Therefore, selecting the right pan tailored to this unique pizza style is essential for home chefs and pizzerias alike.
Crafting the Perfect Detroit-Style Pizza at Home
Now let’s get to the making of the pizza itself. This guide will take you through the essential steps to recreate this iconic dish in your own kitchen, ensuring you get every detail just right for an authentic experience.
Flour Selection
Flour is a big part of your Detroit Style Pizzas end result. You want to use a strong flour. Meaning, flour that has a high protein content. Ideally 11.5%-13%. Bread flour is the typical flour that fits this bill.
I’ve gone down the rabbit hole on flour, experimenting with all kinds of artisan fours and blends. If you’re looking for a good flour that’s easy to find at a local grocery store, go with a King Arthur or Central Milling bread flour.
I like a blend of mostly bread flour a little durum flour, and a tiny bit of whole wheat flour. With this mix, I wind up with a strong blend and a tiny bit of nuttiness and uniqueness from the durum and whole wheat. Here’s by go to blend:
- 75% Bread Flour
- 15% Durum Flour
- 10% Whole Wheat
Durum flour may be a hard to find. If so, you could adjust to 90% bread flour and 10% whole wheat. If you went with 100% bread flour, that will work just fine as well.
Getting the Crust Right
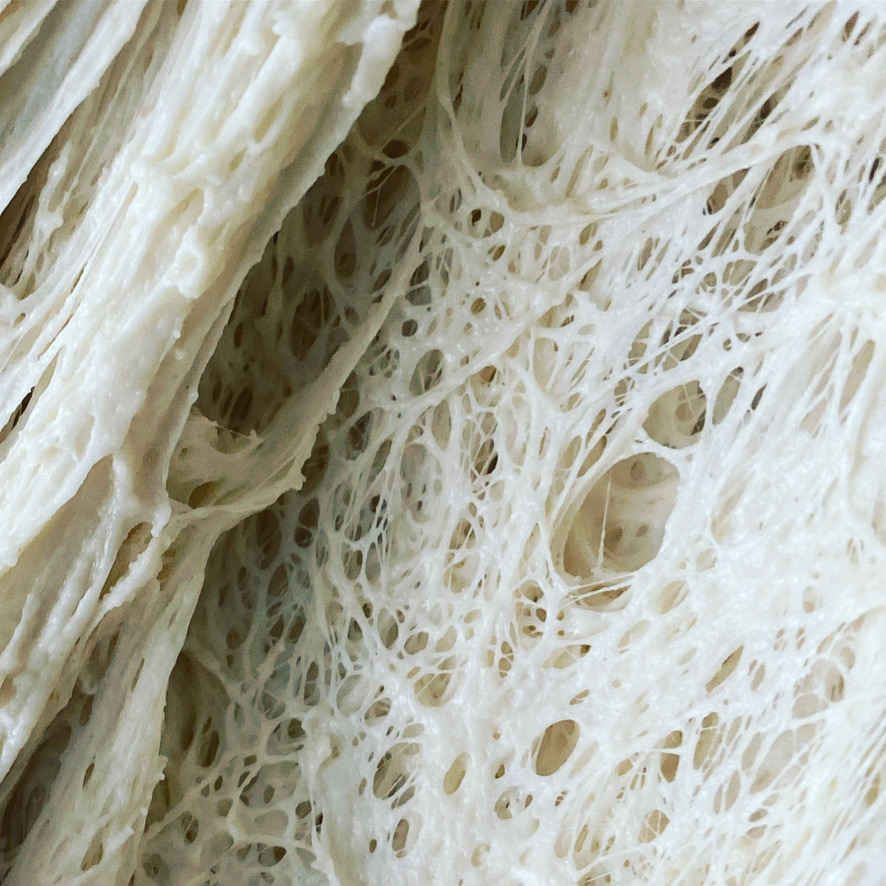
The foundation of a great Detroit-style pizza is its crust. Start by mixing a high hydration dough to achieve that characteristic chewy texture. Aim for a bakers percentage hydration ratio between 70-80%.
Use a strong flour blend, meaning you want the flour to have high protein levels, around 12.5-13%. I like to combine bread flour, whole wheat flour, and durum flour, which contributes a unique flavor and robustness to the crust. Mix these with ice cold water to prevent the dough from overheating as it mixes.
First mix your ice water with your levain. This can be sourdough starter or commercial yeast. Next the flour a little at a time until fully incorporated until the mixture is smooth. At this point we’re going to cover and let the dough sit for 20-30 minutes. This is called an autolyse, which helps develop gluten strength and flavor depth.
After the autolyse, mix in your salt and continue mixing until the gluten is fully developed. The dough should be mixed for about five minutes on high speed until it cleanly pulls away from the sides of the mixing bowl.
Detroit Style Pizza Dough Calculator
Inputs
Recipe
If you found this dough calculator useful. Feel free to bookmark our calculator page for later use:
Dough Resting: The Secret to Flavor
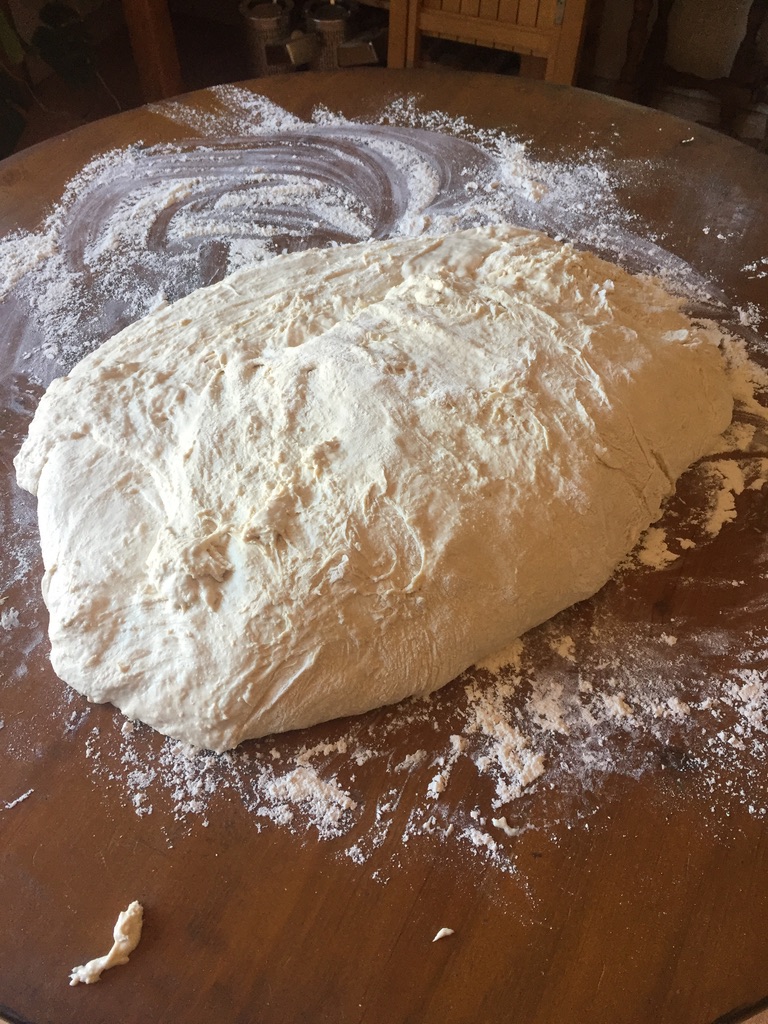
After mixing, the dough needs to rest. Refrigerate it in bulk for 24 – 48 hours; this slow fermentation process is crucial for developing the dough’s flavor and texture.
On the day you’re baking, take the dough out of the fridge about 6-8 hours prior baking. This depends a bit on what the ambient temp of your home is.
Temperatures and Rise Time
In the winter time, I keep my home at around 67°F. However, in the summertime, my ambient temp is going to be closer to 77°F. That makes a difference in how quickly your dough is going to rise.
Assuming 67°F ambient temperature, I’ll take the dough out of the fridge 8 hours prior to my bak, then Let the dough sit at room temperature for 2-3 hours before putting into the pan.
Letting the dough sit at room temp ensures that it’s is relaxed and flexible, making it easier to shape into your pans.
The Right Oil
You can use any cooking oil. I’ve tried many of them with good results: olive, grape-seed, avocado, even sesame. Most people use olive oil, but I’ve found that butter gets the best results as far as achieving a nice golden, crispy bottom.
Butter is a little harder to work with than a liquid oil the pans. So I never used in in a commercial setting, but when I bake detroit style pizzas at home, I use butter. You’ll want to grease your pans with butter, or whichever oil you’re using, before adding the dough to the pan.
Don’t use too much grease otherwise it will make it difficult to spread the dough onto the pan. A teaspoon in a 8″ x 12″ pan is plenty.
This not only prevents sticking but also contributes to the golden-brown crust Detroit pizza is known for.
Shaping the Dough
Gently stretch the rested dough into the prepared pans. For the first stretch shape it into as large of a rectangle you can with your hands in the air then set inside the pan and cover.
In the first stretch, don’t worry about getting the dough stretched into ever corner of the pan. You won’t be able to.
That’s because dough has an elastic quality and it will always want to shrink back in on itself. You’ll need to stretch your dough, then allow it to relax before stretching again.
Let the dough rest in the pan for 20 minutes, then do your best to stretch it into the corners of the pan again. If it still won’t let you stretch it to cover the entire pan, you may have to cover again and try 20 minutes later.
Cheese Selection
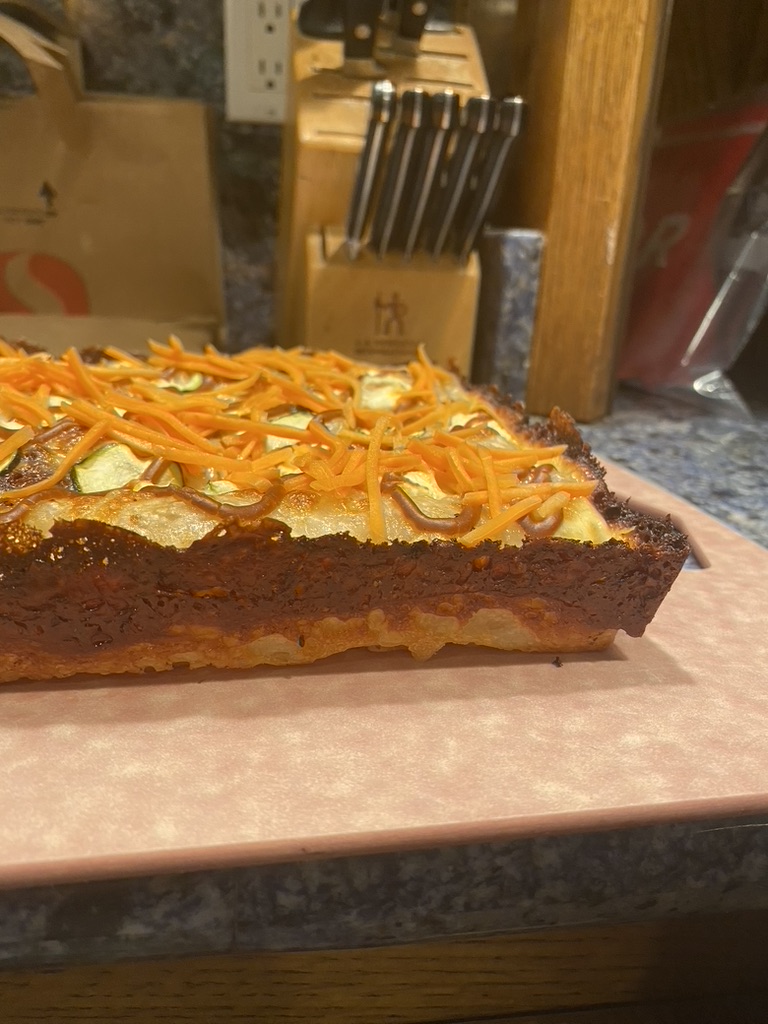
Another rabbit hole. You want a cheese that’s going to caramelize with a beautiful brown color resulting in that wonderfully flavorful frico cheese rim that gives Detroit Style Pizza it’s signature.
Brick Cheese is the traditional choice for Detroit Style Pizza pizzaiolos. If you can get your hands on it, use it. Brick cheese is, however, almost exclusively made in Wisconsin and is very hard to find, and expensive.
I’ve experimented with all kinds of cheese blends to try to achieve a perfect frico. According to Peter Reinhat, the most accessible cheese that mimics brick cheese most is muenster.
There are all kinds of opinions on this so I would encourage you to experiment. I’ve found that the cheeses that result in the right color and flavor are mozzarella, monterey jack, muenster and mild cheddar.
Different cheeses, even I’ve also found that different brands tend to caramelize differently, particularly cheddar. You’ll get a range of light orange colors to black. I shoot for a golden brown hue.
To achieve this, my go to blend is 60% Mozzarella and 40% Monterey Jack.
Sauce
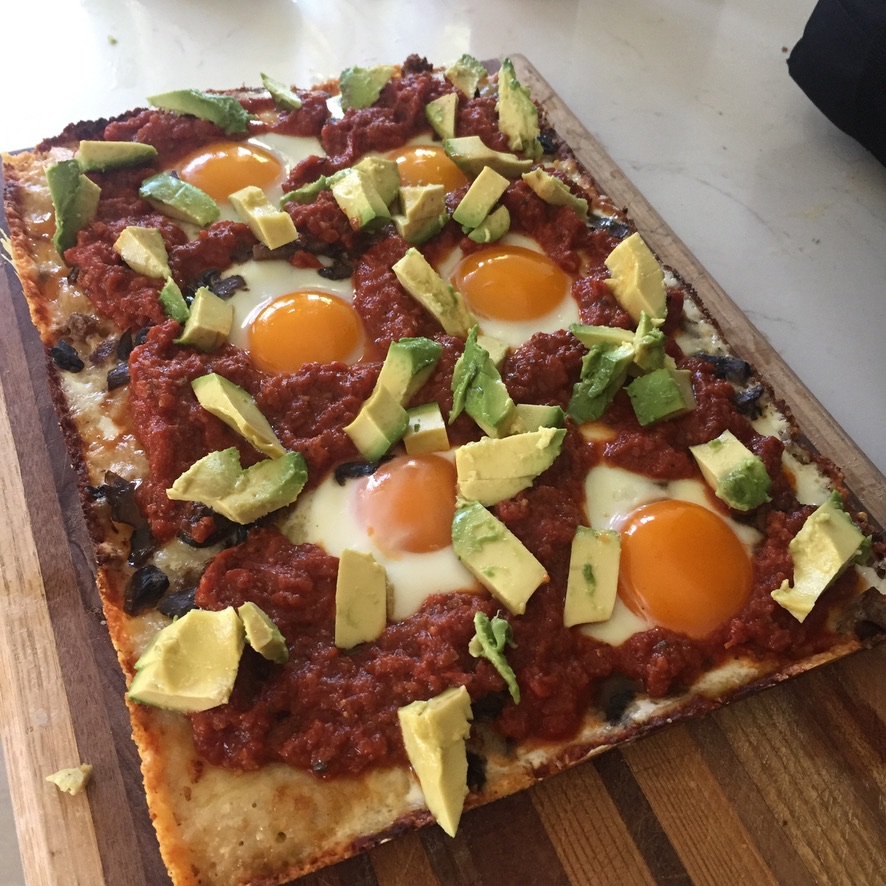
You can go in all kinds of directions with sauce. For me, pizza is a great medium to deliver all your favorite foods and sauces. I’m a non-traditionalist. Yes that means I’m happy to put pineapple on pizza. I’ll also use all kinds of sauces from hoisin sauce to chimichurri.
For the purpose of simplicity, I’m going to keep this article focused on tomato sauce as it’s the most common sauce people want on pizza.
I like to use a 15oz can of San Marzano style tomatoes or any other plum tomatoes. I open the can and drain a bit of the liquid off. Then I take a hand blender and blend the tomatoes (you can do this in the can) until all the large chunks are blended (some chunks are ok).
I then add 2 teaspoons of granulated garlic, a teaspoon of oregano, and a half teaspoon of salt.
I then put that mixture in a small saucepan and simmer it to get it hot after I throw the pizza in the oven. This sauce will go on after the bake.
Baking to Perfection
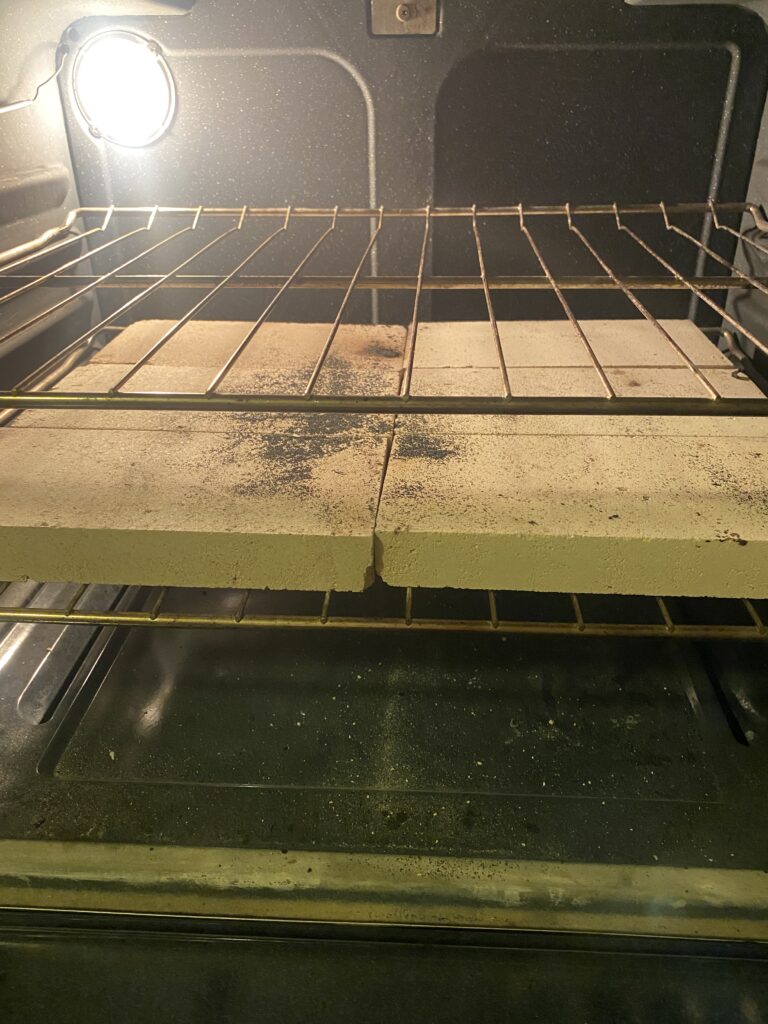
You’ll want to bake your Detroit Style Pizza at 515 – 530°F on a pizza stone. Preheat your oven for 1 hour prior to baking. I know, it sounds crazy, but you want that pizza stone to be nice and hot before you throw that pan into the oven.
The high temperature is essential for a well-browned crust and bubbly cheese. Bake the pizza for about 15-20 minutes. Keep an eye on it; your oven’s characteristics might require you to adjust the time slightly. The result should be a pizza with a crispy, golden brown crust, and a soft, airy interior.
Removing The Pizza from the Pan
Remember that frico cheese rim is going to be caramelized and stuck to the pan. You want to keep all that in tact and stuck to the pizza, not the pan when you remove your pie.
To do this you need an ultra-thin metal spatula that you can use to separate the cheese from the pan. I’ve even used a fish spatula in the past. Anything that you can use to separate that burnt cheese from the pan.
Once you can successfully get the spatula down to the bottom of the pan, slide it all around the perimeter of the pan, separating the cheese from the pan as you go.
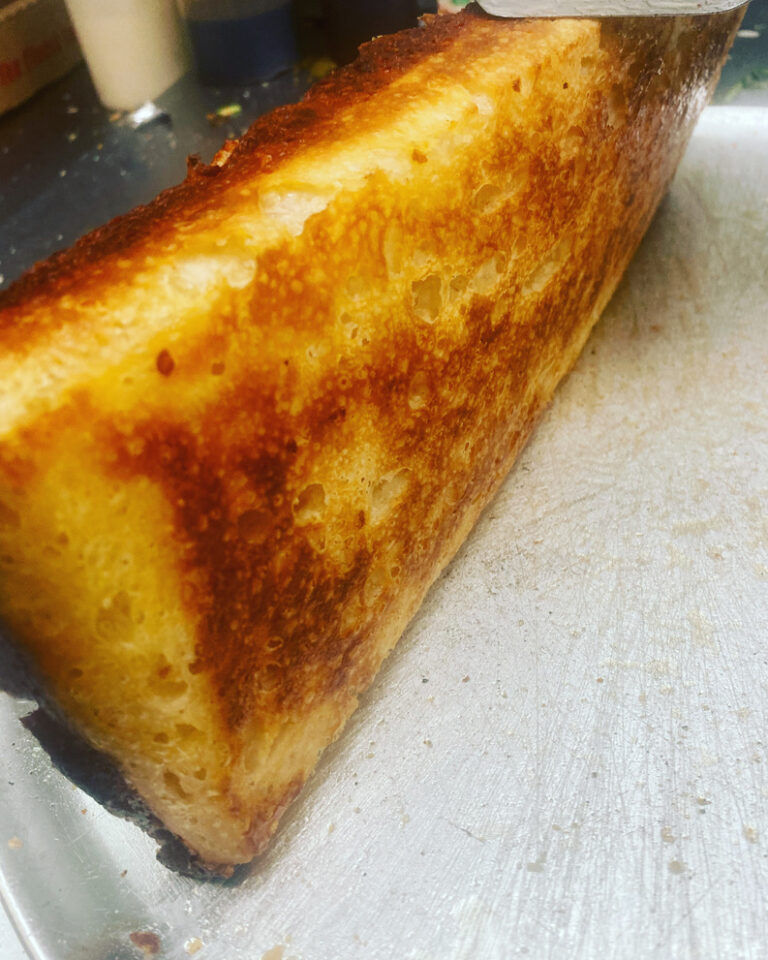
Once you have ALL the cheese unstuck from the pan, slide you spatula under the crust, lift it up and take a peek. Your dough should be a nice golden brown color on the bottom. If it isn’t a crispy golden, it means your pizza needs a bit more time in the oven.
Serving Your Masterpiece
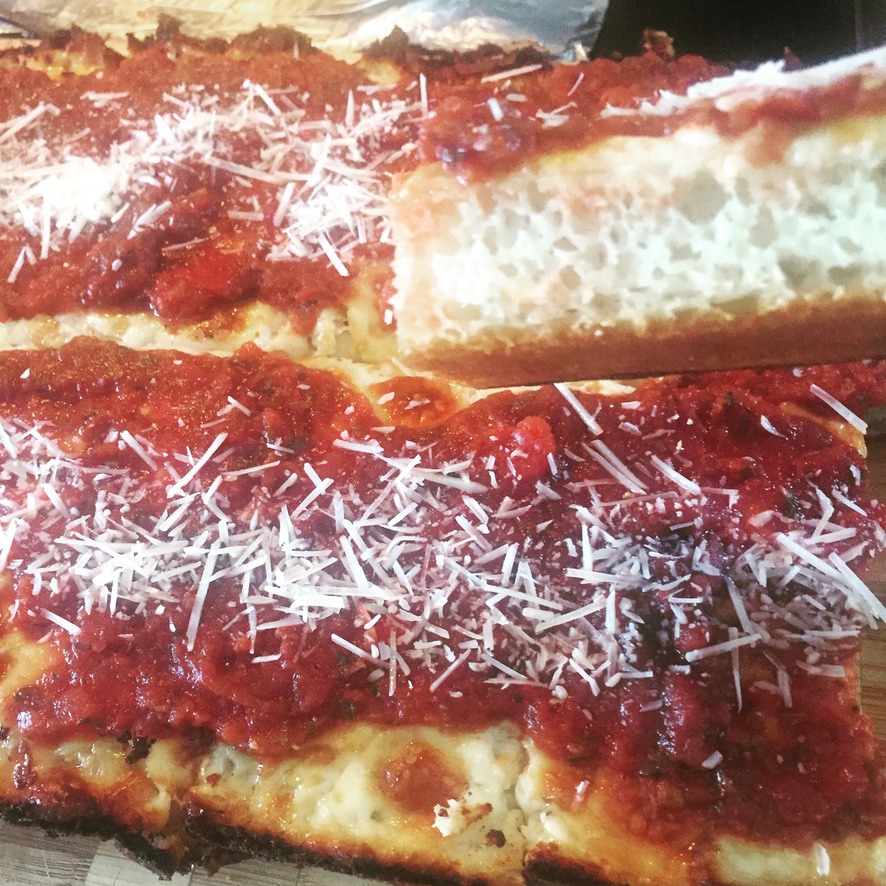
Once baked to perfection, let the pizza cool for a few minutes before cutting it into squares. Detroit-style pizza is traditionally served this way, making it perfect for sharing.
The crispy edges, chewy crust, and gooey cheese blend create a symphony of textures and flavors that make this pizza a crowd-pleaser.
Tips for Storing and Re-heating Detroit Style Pizza
Once I’ve fully stuffed myself, I always wrap my DSP in foil and throw it in the fridge. It will stay good in there for 2-3 days.
When ready to reheat, the best method is to use a toaster oven. Don’t use a microwave! The toaster oven helps ensure the crust remains crispy and the cheese melts evenly. Simply preheat the toaster oven to 375°F, place the pizza on a baking sheet, and reheat for approximately 10 minutes.
This method helps retain the original flavors and crispy textures, offering a delightful pizza experience time and again.
Connect with the Pizza Community
I hope I’ve given you enough direction to start perfecting Detroit Style Pizza at home. Are you still getting stumped by it? I’ve been there!
I suggest you start following season Detroit Style Pizza makers on Instagram. A lot of times they will respond to direct messages you send them with questions. I got so many tips that way when I was learning
There are also some great Facebook groups with people constantly chatting about making Detroit Style Pizza at home. Take advantage of those!
Takeaway Key Tips for Success
Creating Detroit-style pizza at home requires patience and attention to detail, from the dough preparation to the final bake. By following the steps and tips above, you can bring a taste of Detroit into your home kitchen, delighting family and friends with this beloved comfort food.
- Use ice cold water when mixing your dough to control the temperature and limit fermentation while mixing.
- Allow enough resting time for the dough, both in the fridge and at room temperature, to enhance flavor and texture.
- Experiment with different types of cheese to find your perfect blend for the right balance of melt and browning.
- Adjust baking times based on your oven and the specific pan you use for optimal results. Don’t expect to get it perfect your first time around!
Recipe
This is basically a summary of what I’ve said above. If you really want to nail this, read the details above thoroughly.
Equipment Needed:
- Stand Mixer with Variable Speeds
- One 8″ x 10″ Detroit Style Pan
- One Thin Metal Spatula
- One 8″ x 10″ or Larger Pizza Stone
- 1 Hand Blender
- Pizza Cutter or Large Kitchen Knife
Ingredients
- 230g Bread Flour
- 50g Durum Flour
- 20g Whole Wheat Flour
- 240g Filtered Ice Water
- 9g salt
- 1 Melted Butter (to grease the pan)
- 5g Active Dry Yeast
- 2 Teaspoons Granulated Garlic
- 1 Teaspoon Oregano
- 1/2 Teaspoon of Salt
- 350g Mozzarella Cheese plus 250g Monterey Jack Cheese Mixed
- One 28 oz Can of San Marzano tomatoes
Instructions:
- In the bowl of your mixer, mix the yeast and ice water thoroughly.
- Set your mixer to the slowest speed, and start adding your flour. Add about a cup of flour and wait until the flour is mixed thoroughly until adding the next cup of flour. Repeat until all your flour is mixed thoroughly and fully incorporated.
- Autolyse the mix: Cover you mixing bowl and let the dough rest for at least 20-30 minutes.
- Uncover and add salt.
- Slowly turn your mixer up to the highest speed and mix for about 5 minutes.
- Wait until you see dough pull off the sides of the mixer. This is often accompanied by a slapping sound as the dough pulls off one side of the bowl and slaps the other.
- Place dough in an airtight container and let rest in the refrigerator for 24-72 hours. (note: if you are pressed on time, you can do a same day dough. If so, put the dough in an airtight container and let it rest for 20-30 minutes.
- Remove dough from fridge about 8 hours prior to baking.
- Grease your Detroit style pizza pan with butter (or another cooking oil), coating the bottom and all 4 sides.
- 2 hours after the dough has come out of the fridge, place the dough in the pan and flatten to the best of your ability stretching the dough out into the corners as far as possible. You won’t be able to get it into the corners this first time around.
- Cover and let rest for 20 minutes giving the dough a chance to relax.
- Now try stretching the dough into the corners of the pan again.
- You may have to repeat the last two steps one more time to fully give your dough a nice rectangular shape that covers the bottom of your pan completely.
- Once you have your dough fully stretched into the corners of the pan, cover and let rest for 5-6 hours.
- Turn oven on 1 hour prior to baking, allowing your pizza stone to heat up completely.
- Top your dough with cheese completely covering the dough and pushing the cheese out to the pan completely. We want the pan to cook the cheese giving us that caramelized frico rim on the pizza.
- Place the pan in the oven on the pizza stone. Allow to bake for 15 minutes.
- Once your pizza is cooking, open your can of tomatoes and empty in to a sauce pot. Add a teaspoon of salt, a half teaspoon of oregano, and a tablespoon of granulated garlic.
- Blend tomatoes with a hand mixer until large chunks have broken down. Some small chunks are ok. Heat on high until the sauce comes to a boil, then lower heat and simmer.
- Time to check on the pizza. Use an oven mitt to remove pizza from the pan.
- Use your thin spatula to separate the dough and caramelized cheese from the pan, sliding the spatula all around the pan until all the cheese is released and separated.
- Once the caramelized cheese is fully separated from the pan, lift the pizza up with the spatula and check to make sure the dough has a nice golden brown color. You want the bottom to be crispy. If the dough is still pale, put it back in the oven for another 3 minutes and repeat until you get that golden brown crust on the bottom.
- You may find that the top of your pizza is fully cooked but the bottom is still not done. If thats the case, cover your pan with aluminum foil before throwing your pizza back in the oven to block the heat cooking the top of the pizza.
- Once your dough is nice and golden brown, remove the pizza from the pan.
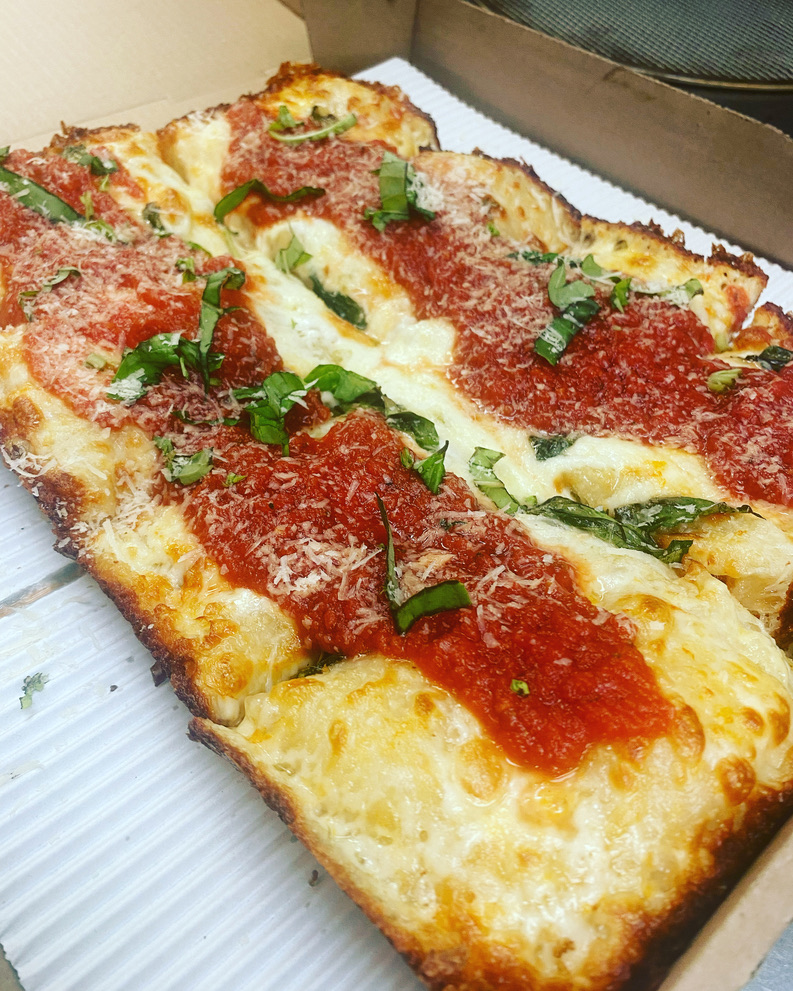
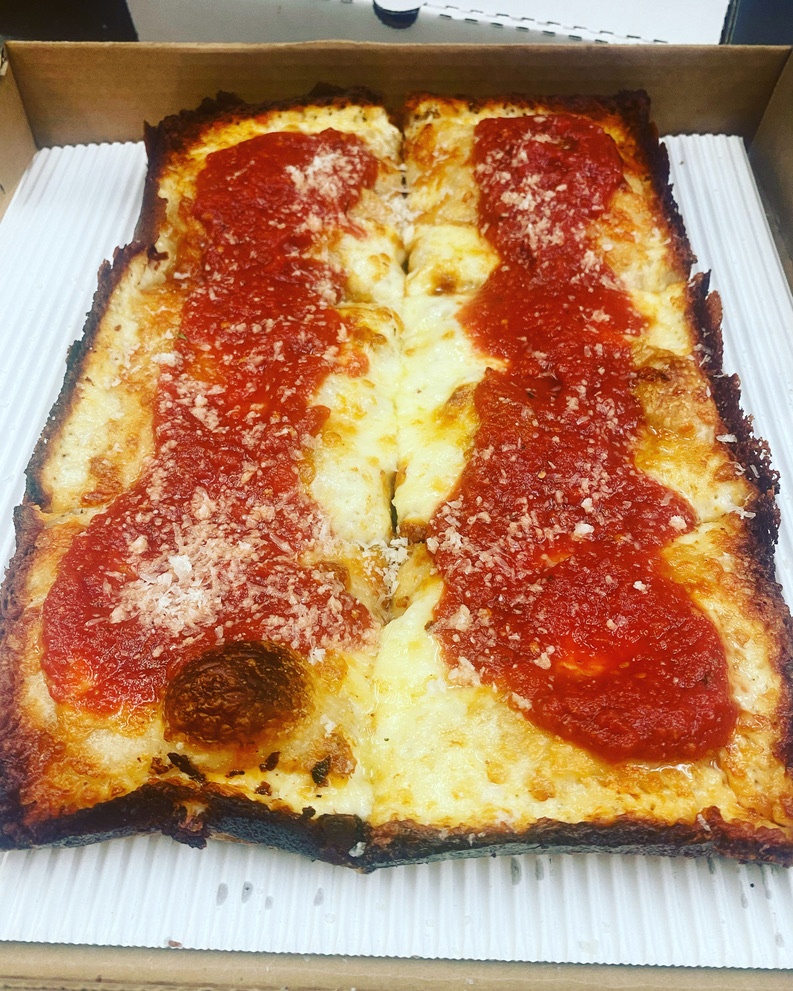
- Apply your tomato sauce with a ladle generously. You’ll want about a cup of sauce poured down one side of the pizza lengthwise. Followed by a second “stripe” down the other side of the pizza.
- Once you have your two stripes of tomatoe sauce running down each side of the pizza lengthwise, you’re ready to serve.
- Cut the pizza with a pizza cutter or large knife in half lengthwise so that each half gets one stripe of red sauce. Then make 3 even cuts horizontally so that you have 8 squares total.
- Serve and enjoy!


